How Smile Perfected Works
Real results, Real Fast, Pain Free
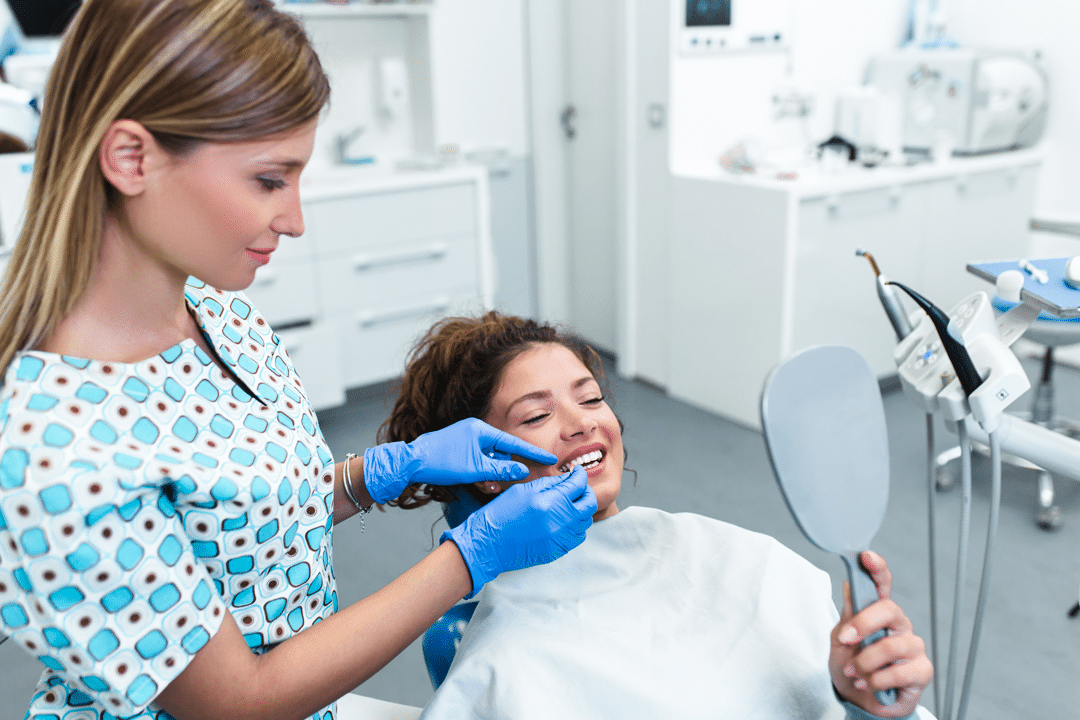
Step 1: Clean & Polish Teeth
The Smile Perfected whitening system begins with a professional cleaning. The best time to Whiten & Brighten teeth is after the pellicle layer is removed.
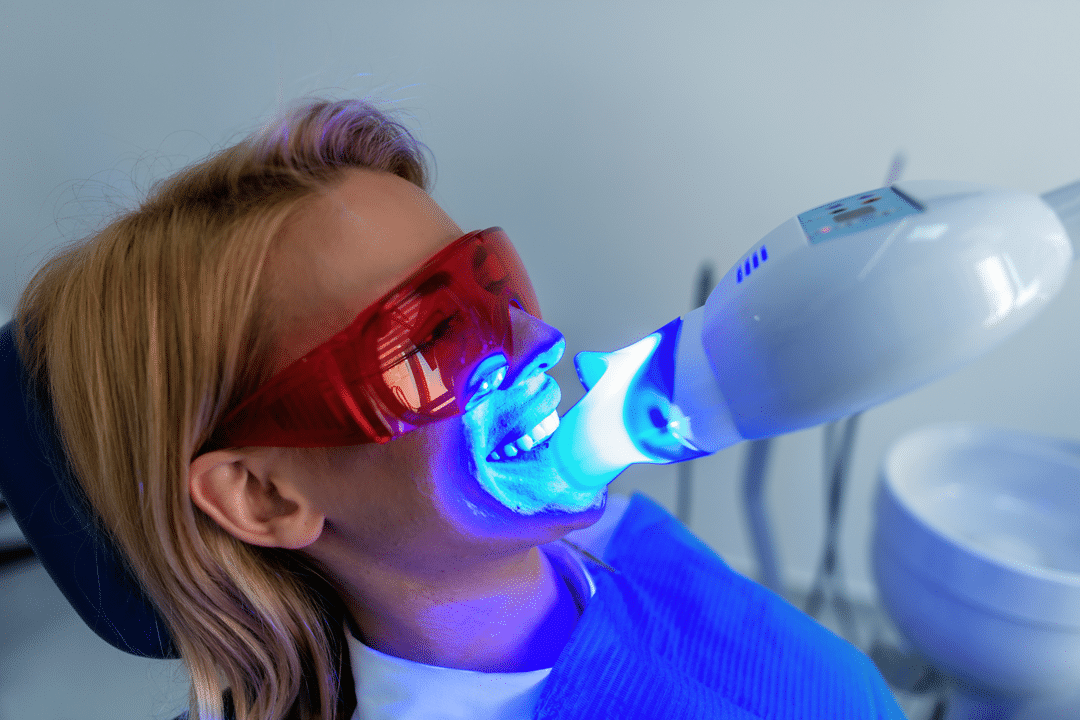
Step 2: Minimal prep
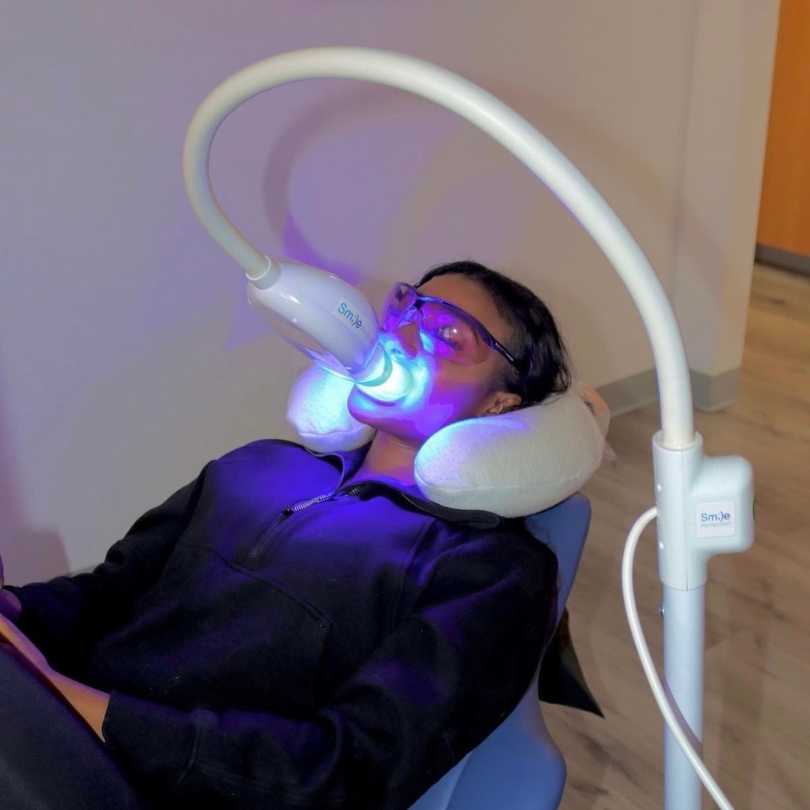
Apply the Vitamin-E oil swabs to the patient’s lips for protection and hydration. Then insert the pre-loaded universal fit tray. Place the goggles on the patient and turn on the light for 20 minutes.
Step 3: Aftercare
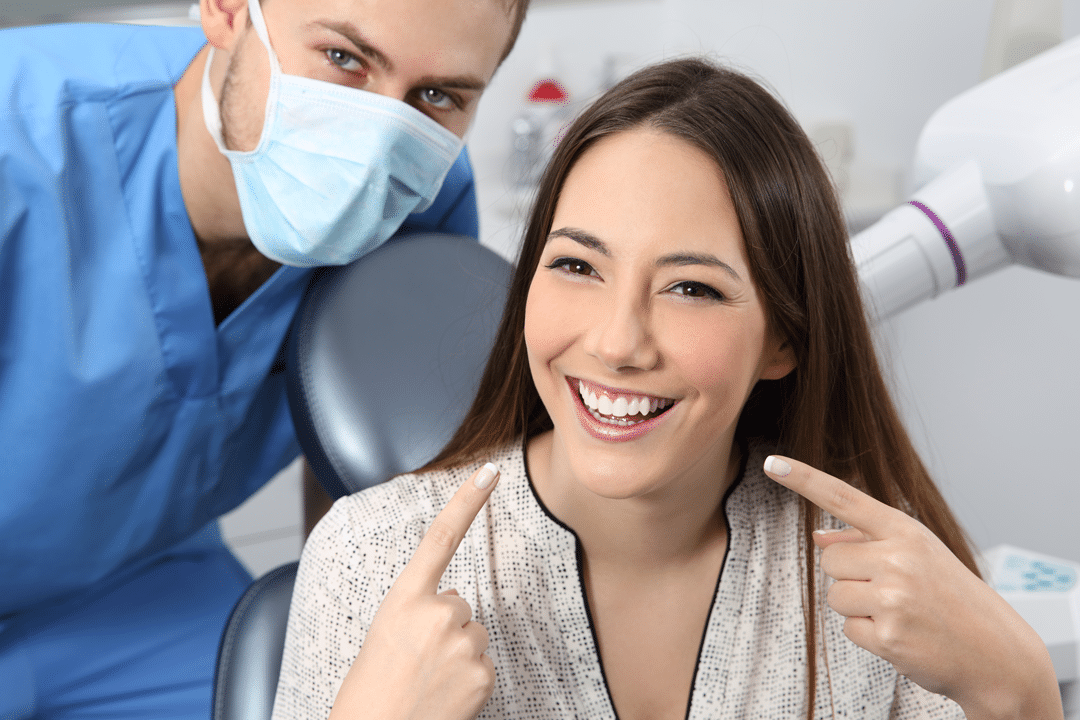
Remove the tray and clean for take-home use with the Smile Perfected Whitening pen. Hand your patient the lavender towelette for a spa-like finish. Review the take-home care directions so they can maintain their new, beautiful smile.
Simpify Your Hygiene Block, Today!
Is the light included?
- Heat breaks down hydrogen peroxide to hydroxyl molecules. They are the smallest and strongest way to get through the enamel.
- The gel breaks down with the heat of the light from Hydrogen Peroxide to Hydroxyl Molecules.
- They are the only thing small enough and strong enough to get through the enamel and clean it. That is where the brightness of a smile comes from.
- Our light is calibrated to break down our gel without sensitivity
What are your Post op instructions?
- Use the take-home Whitening Pen in conjunction with the tray every 3-5 days
- Avoid staining beverages (red wine) for 24 hours
- Avoid staining foods (blueberries, tomato sauce, etc…) for 24 hours
What is the Prophy-Plus+ Experience?
- 1st 20 Minutes: Diagnose – Update medical history, Screen for disease, Update images/ iTero/ X-rays
- 2nd 20 Minute: Treat – 1110 Prophy, 4910 Perio maintenance, Perio disease
- 3rd 20 Minute: Revenue – Reshape teeth, Smile Perfected Whitening, Invisalign
What’s in our Whitening Gel?
Just like we were taught in Dental school, chemistry matters! Smile Perfected expertly curated it’s formula to ensure it’s dentist approved.

Hydrogen Peroxide
Brightening and whitening

Potassium Nitrate
Lowers Sensitivity to the teeth

Menthol
For a cooling and numbing feeling to the soft tissue
Real Results
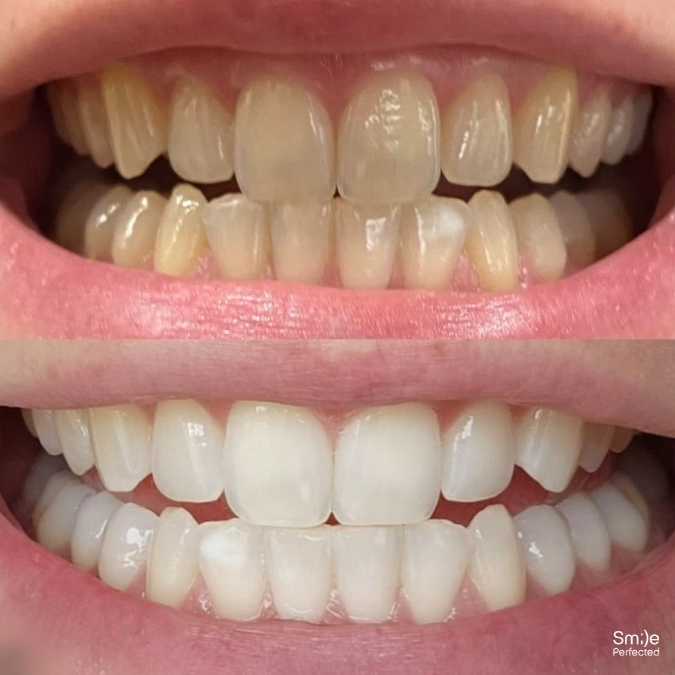
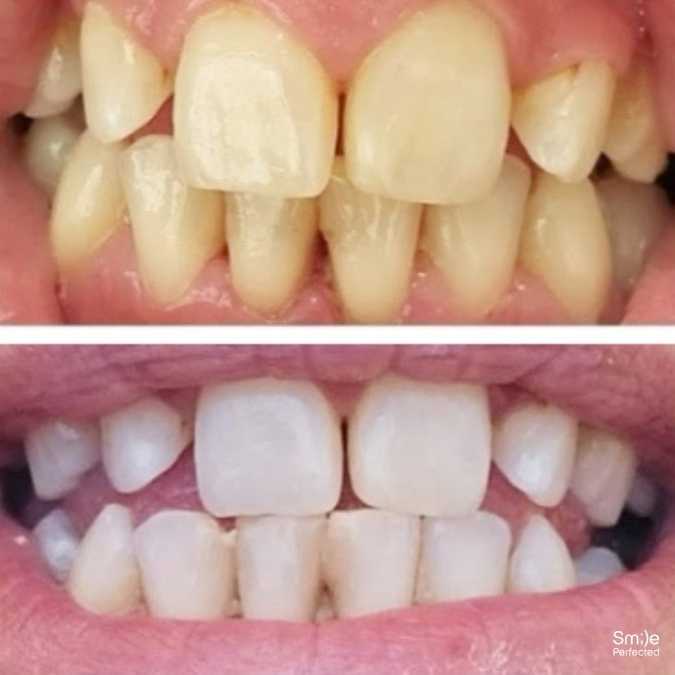
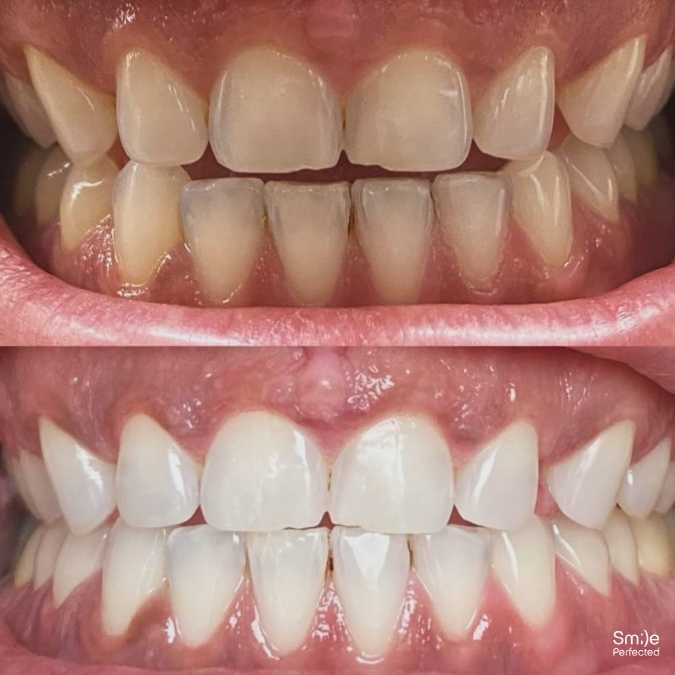
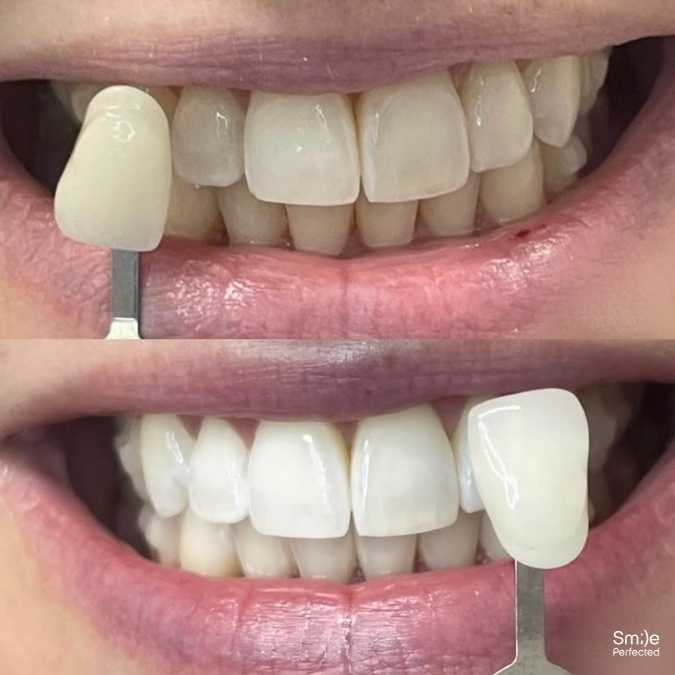
Let’s Get Started
- Free Team Whitening
- Free Customizable Marketing Materials
- Free Whitening Light
- Fast Delivery
